Monday, 24 May 2021

Week 31 - The Build

 A quiet couple of weeks as I've been consumed by other things! But the good news is that I think I now have all the key parts required to complete the project. There is still a massive amount of work to be done but slowly and unsteadily I'm making progress. 

The main parts which I've been waiting for so long are the layshaft and dog clutch that connects the power take off to the water pump.

The clutch is made up of a drive shaft with a cv joint. The cup of the joint slides up and down on a splined shaft to engage or retract from the tripod. This is controlled by a lever on the end of a cable. This rather clumsy diagram endevours to show how the water jet is driven and controlled.


 This photo shows the shaft with the clutch disengaged....


..... and this one shows it engaged!!


Next week its to pick up on the issues arising from the test drive. Cooling system leak, wayward rear tracking and binding brakes.


Sunday, 9 May 2021

Week 30 - The Build


 Well. here you are. You wait a fortnight for a week then two come along at once!

Anyway, having got the radiator fan sorted out it's now time to get some water in the system to see what happens. A standard Fiesta should take 5.5l of coolant so I'd expect to be needing a fair bit more to fill the under hull tubes and the extended runs to the heater.I managed to get nearly 7l in before the header tank was full which didn't seem very much but time to run the engine. I've still got this strangeness of non starting unless initiated by the spraying of some flammable liquid into the air intake.

Just on tickover the engine warmed up very quickly and in fact nearly boiled before I turned it off. Either thed (new) water pump doesnt work, the thermostat is stuck shut or there is a massive air lock somewhere. The heater didn't get hot so hopefully an air lock. Lots of sqeezing and squishing of rubber hoses running it again with no improvment then going home while it all cooled down seemed to do the trick. The next day all seemed fine. The heater got hot and the radiator hoses got hot as well. If anything it didnt get hot enough which makes me now think that the thermostat is stuck open. Better than stuck shut but a problem for another day.

Next job is to put some wheels on and see if it starts and stops. 

The answer is here;


Really exciting time but every jar of ointment has it's fly. A number of flies in this case! The brakes are binding to a point where they are almost solid, the rear tracking is about 10 degrees out on one side, the handbrake cables foul the wheels and there is another water leak from the heater end of things. 


Week 29 - The Build

 The avid follower of this blog will now realise that some of my weeks are sometimes longer than seven days! This is mainly because I don't seem to make interesting progress all the time. This week's mantra has been 'Don't just do something - stand there!'

First job was to wire up the radiator fan as previously outlined. This all went well apart from it not working as expected. The main bit works ok in that the wire from the ignition switch to the relocated relay turns the fan on. The break in this wire that will accomodate the 'Off' switch turns it off. So far so good. The bit that didnt work is the 'Off' switch override. The plan was to take the the trigger from the original relay socket to close another relay that bypass the 'Off' switch.

Upon investigation it seem the terminal on the original relay socket which I supposed to be the trigger is always at 12v when the ignition is on. The terminal which I supposed was to earth is at 4.5v when the igition is on. Not enough for the relay to switch but perhaps when the engine runs hot this terminal drops to 0v and the relay switched and the fan comes on. 

Anyway I've replaced the original relay and used that output (that would have sent power directly to the fan) to trigger another relay that bypasses the 'Off' switch. 

Those of you that read the bit about my improving the cooling system with 27 jubilee clips will appreciate my using three relays instaed of one to turn the fan on. Fortunately I was able to saw off a couple of relays and holders from another Fiesta.It'll be fine - probably!

 Here is the relay by the fan


The relay by the fusebox that feeds off the original power cables

and the wires that will connect to the switch


All these wires and bits will all be tidied up after I've had the engine running up to temperature.

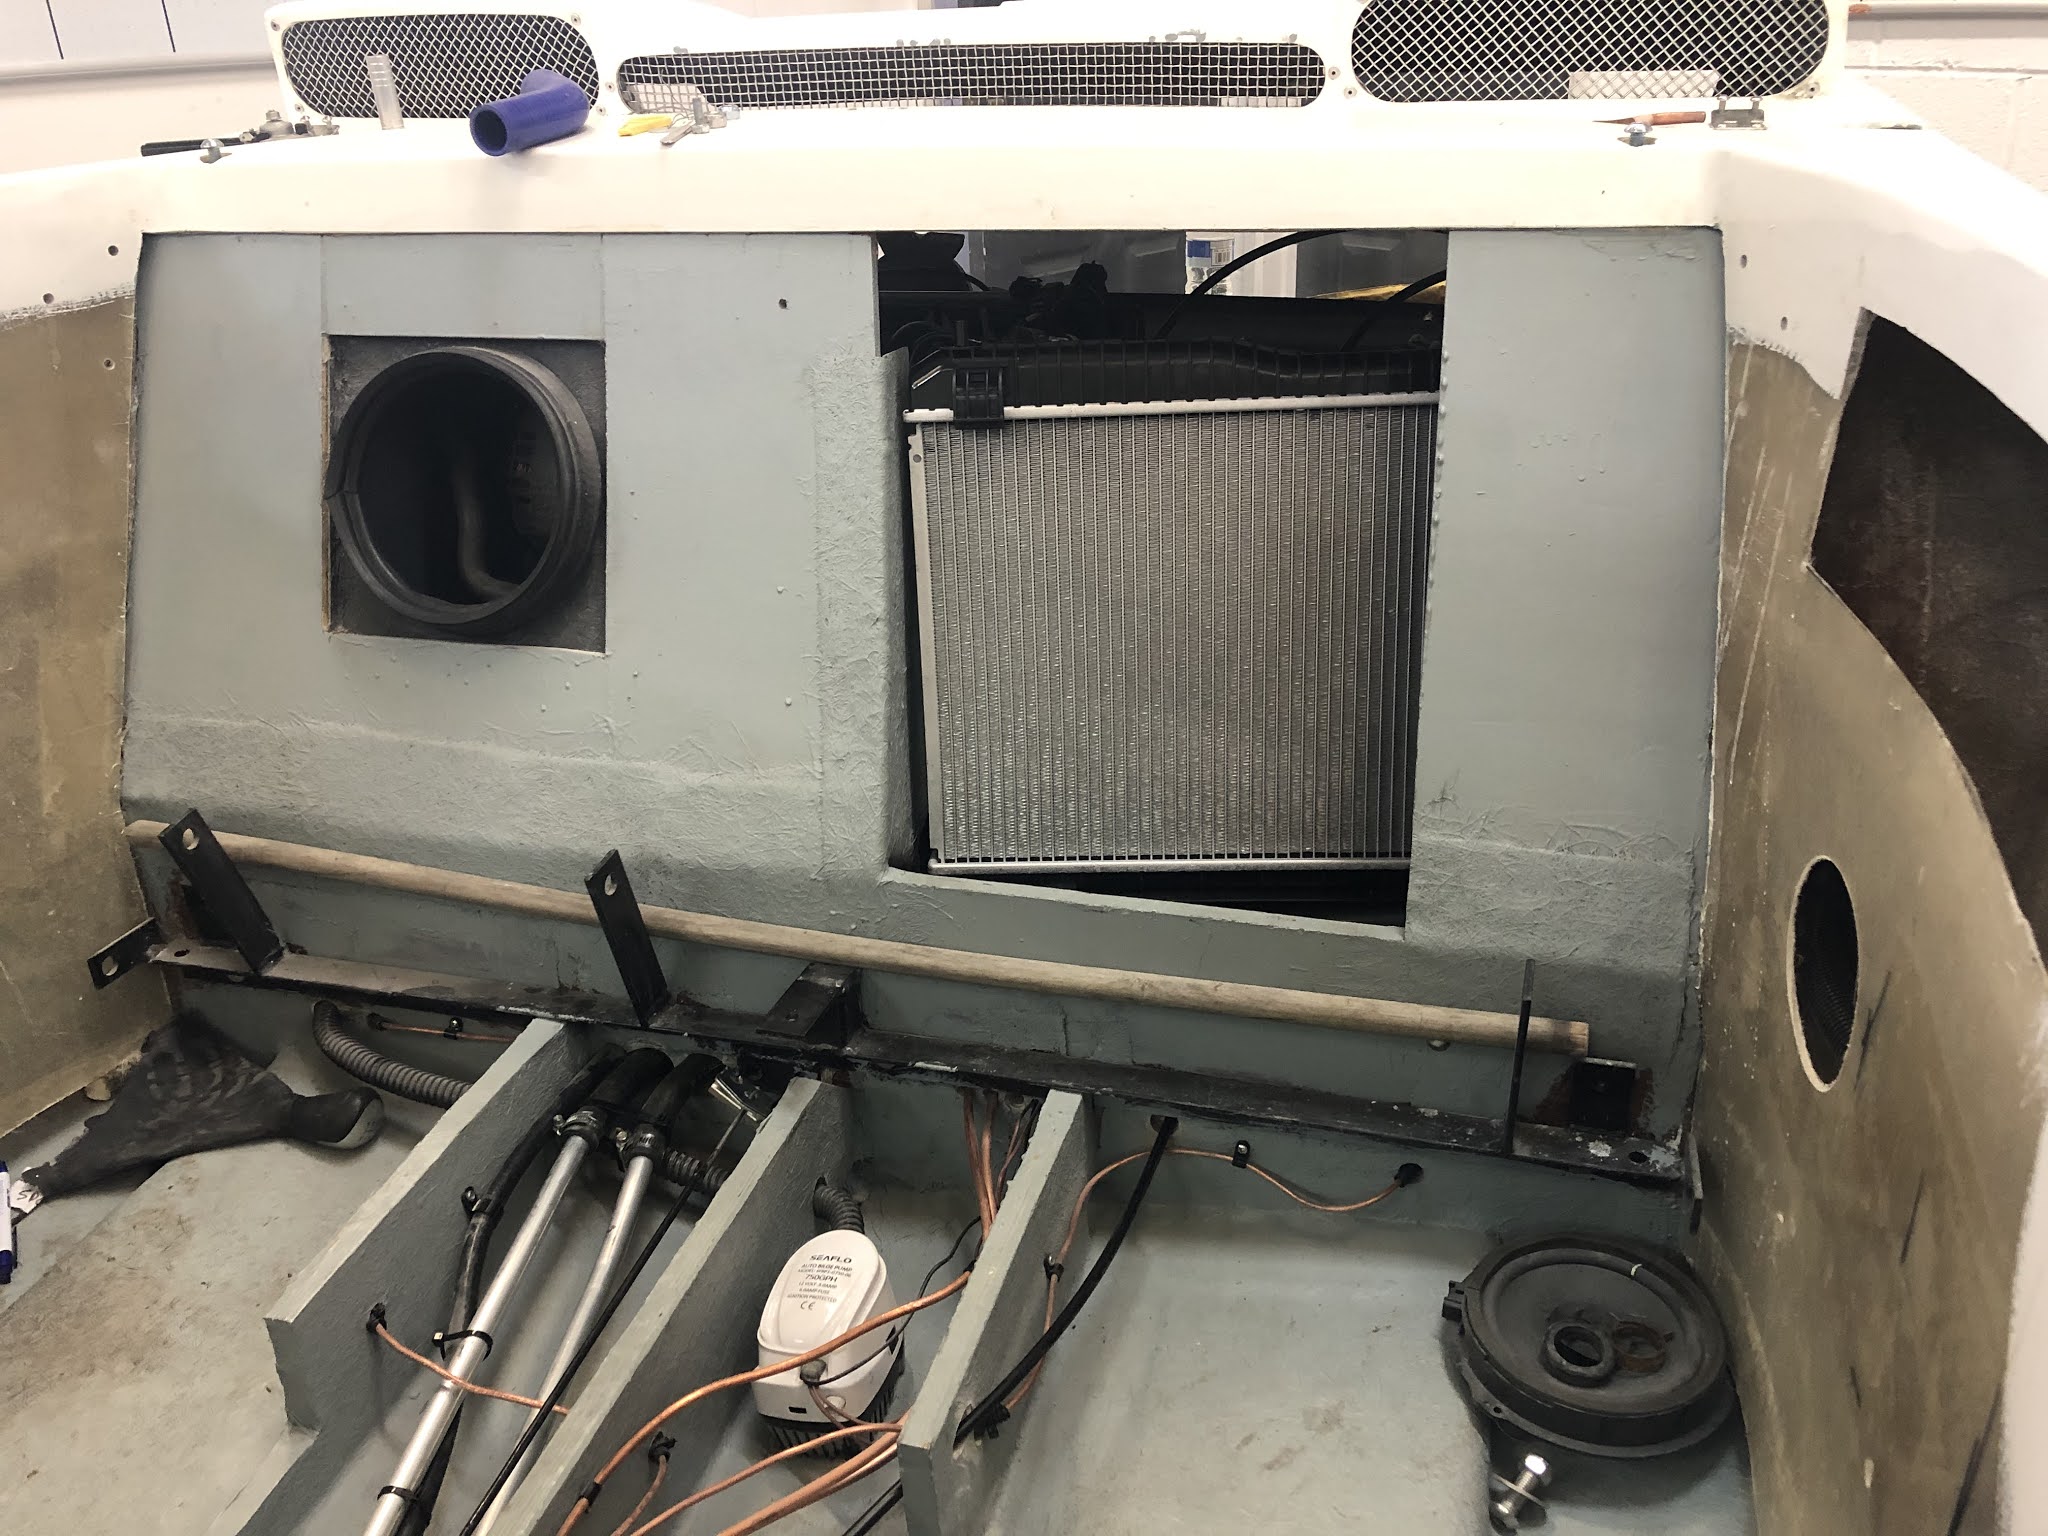
Next job is to fix the fan to the radiator. Again not so simples. The fan in the Fiesta goes behing the radiator. In Amfey it will go in front. This means that all the little brackets on the fan housing and radiator are useless. Some bracketry is required but here it is all fitted.


Tuesday, 27 April 2021

Week 28 - The Build

 As winter turns into Spring there is a lot more that can be done than working on the car! I've spent a certain amount of time on my proper boat even going away on it for a few days to avail myself of licensed premises in England while Welsh pubs are still shut.

All the big heavy jobs are now done so its now a matter of doing all the millions of little things that make finish it off.

I've started off by washing the areas in the fo'cstle that were contaminated with brake fluid and repainting them. 

The fuel tank and filler are now back in.

Something that needs to be addressed at some point is to fit and cable up the radiator cooling fan. The radiator is not going to be subjected to any great airflow either ashore or afloat. The fan needs to be arranged so it can be set to continuously on and this can easily be done by taking a feed from the ignition switch to the fan relay. The current plan is to move the relay to the back to avoid long runs of cable taking a high current and trigger this from the ignition. Plan A.1 is to have a switch in the trigger cable so it can be set to 'off'. Plan A.2 is to take a feed from the original relay trigger to override the 'off' switch. Should cover it!

No photos this week but a wiring diagram for the fan 


Friday, 16 April 2021

Week 27 - The Build

 This last couple of weeks has been another interesting time in the project. I earlier showed the tools for bleeding the brakes and the pressure method seems favourite. Problem with my kit is that it doesn't seal satisfactorily on the master cylinder so it ejects fluid over everything. I bought a spare cap for a Fiesta on eBay and adapted this to fit the kit. That leaked badly as well, but not as badly! It was possible to bleed the brakes being careful not to empty the master cylinder reservoir each time. Flushed with success I went on to finish off connecting up the cooling system. That all went well with 7litres of water poured in.

I'm thinking of getting it on wheels and going for a little drive now!!

A number of issued became apparent. 1) the cooling system leaks somewhere up by the heater. 2) the engine is very reluctant to start without the help of squiting something flammable into the air intake (electrical contact cleaner came to hand!) 3) the clutch doesn't operate. 

Of these I think No 3 is the most urgent issue. I'm hoping its the hydraulics and not mechanical. If it is mechanical then we go back to a very low numbered square. I had previously bled the hydraulics using the vacuum method but perhaps there is an air lock. The best method is the pressure at the master cylinder method and I spent many hours trying the effect a good seal for my kit to the reservoir. Every attempt failed but even with it leaking it provided enough pressure to blast the air lock out.

The water leak was fixed by tightening up one of the 27 jubilee clips in the system. I haven't got it up to temperature and under pressure yet so I'm sure there will be more leaks!

I don't understand the engine starting issue. Once running it seems to go fine.

Anyway, flushed with that success here is a little video of the pto shaft stopping and starting as the clutch is operated. 


Tuesday, 6 April 2021

Week 26 - The Build

 Hard to believe I'm six months into the build and it's Easter already. I was originally thinking it would be finished by now but its not even on its wheels yet!

Anyway, left it last week with cross threaded nuts in the ABS unit. The unit was removed and a replacement ordered. It would seem to be very likely if not absolutely certain that the ECU part is coded to the car and a different one would need to be coded by Ford. The solution to this is to swap the old ECU onto the new pump.

Here is the unit on the bench..

Just need to undo this screw..

and this screw..

and it comes apart like this.. (need to keep it fairly straight until its compoletely off as well)


Behind the pump part in the photo is an electric motor that runs the pump. You dont really need to disturb this!

Next job is to remake the pipes from the master cylinder to the unit..

I used 5/16" 8mm tubing from B&Q and a friends flanging tool. The new ABS unit came with the nuts in place so I used those to replace the cross threaded ones.


and here are the new pipes all ready for installation. Shown here with the old ones with the yellow tape holding them together where they were cut to remove the master cylinder nuts.

Everything is now back on the car and good to go for bleeding the system.

Sunday, 28 March 2021

Week 25 - The Build

 Lots of bits put on last week so two main jobs before the wheels go on and it becomes driveable for the first time. First job is to install the cooling system but before that I need to bleed the hydraulics for the clutch and brakes.

There are three ways to bleed the system; 1) The traditional method of a two man operation - one of the pedal and the other at the other end. I can't do that as I'm only one man! 2) To use pressure to force fluid through the syste. Thats good as I have a kit for doing that;


 The white cap fits on the master cylinder reservoir and the black tube fits only the valve of an inflated tyre. Brilliant - except that while it fits only a Ford Sierra master cylinder it doesn't fit this Ford Fiesta.

3) To suck the fluid through the system using a vacuum pump at each corner. 


and here is the kit for doing that. Perfect.

Disapointing results as all I can suck through is a mixture on 95% air and 5% fluid with the brakes but all fluid on the clutch. Went and checked all the connections which seemed OK - except for the pipes from the master cylinder to the ABS unit. Definitely a leak here and on close examination it looks as if both the nuts are cross threaded. Wow, I thought, that seems a bit casual. Anyway the unit will have to come out for repair or replacement.

 Here it isn't !

and here it is


As I thought the two feed pipe threads are knackered. A replacement is enroute! Going to have to repaint some of the fo'castle as brake fluid is a better paint stripper than paint stripper.

Better news about the cooling system. A modification to the cooling system, apart from the radiator being offset, is the incorporation of a loop of stainless pipe running under the hull. This connects between the engine and the top of the radiator. 

Here is how it will look;

and the radiator


So, next weeks jobs are the same as last weeks!


Week 57 - The Test

 Got all the paperwork off to register it as a car now to test it as a boat!! Here are a couple of videos and some photos of it in action......