Tuesday 19 October 2021

Week 41 - The Build

 Another long week since my last post and also the second anniversary of the ordering of the kit and 13 months since taking delivery of the first bits.

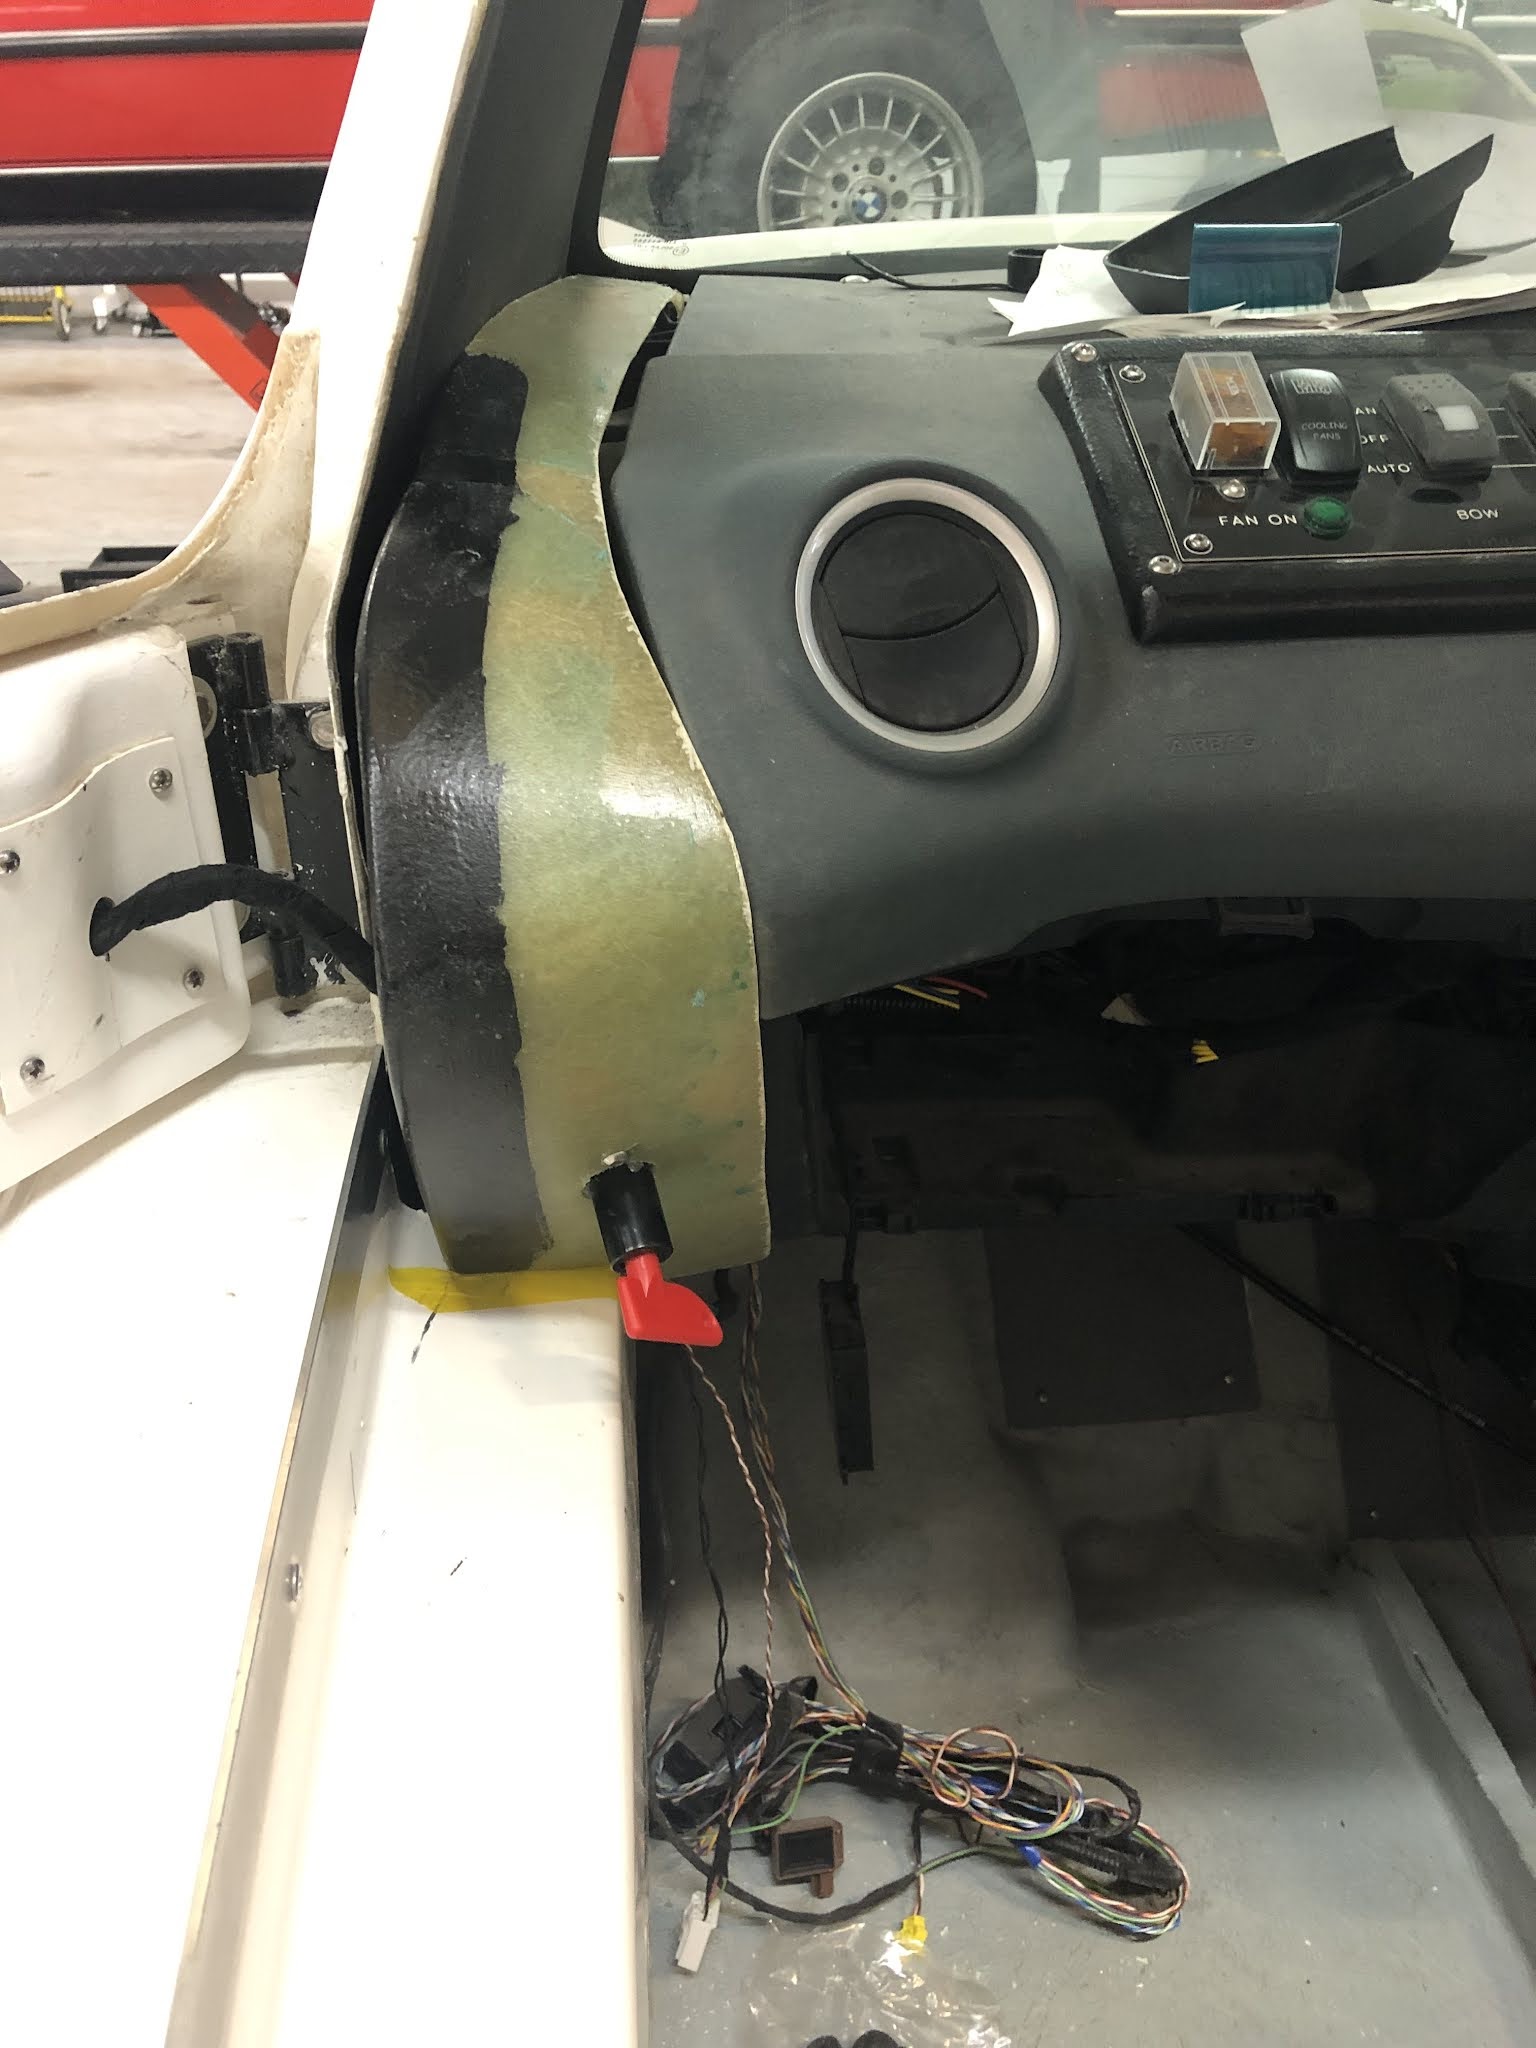
Anyway, last report ended with me sizing up the dashboard cheek pieces and seeing them as a not deparately good fit. so the first job was to rectify that. Firstly they needed a bit of reshaping including removing the tang at the forward end. The inner edge needed to be abit wider in places. Fibreglass can sort that out...Here is one side with a mold made from cardboard and masking tape.


Then they need covering in van liner cloth.This stuff is very stretchy and can be persuaded to follow almost any contour.

Here is the dashboard with them installed with the temperature gauge on the stbd side and the cut off switch to port.


The next job was to install the radio aerial! (It gives a clue as to the progress being made when that job came to the top of the list.) The kit did include an aerial that looked as it it had been made in the early '60s. It did have a coax cable which I used to extend the original cable. I actually added the new bit in the middle of the original as I wanted to keep the original termination. The inside of the A pillar had already been covered in vinyl so the top was peeled back...


 .... the coax threaded up the A pillar and across the top of the windscreen and out by the courtesy light...

... then screwed to the original aerial after a bit of nibbling on the roof ...


Looks pretty good I think. 

Next time its another myriad of little jobs...


Saturday 2 October 2021

Week 40 - The Build

 A bit of a busy week but one of mixed fortunes. Having a bit of a tidy up I saw this...


and that, my hearties, it the key to the drive sprocket that appears to have fallen out. I put it back in but it slides in and out quite easily. I've tightened up the taper lock hub as tight as tight can be but its still loose. I shall have a think before I spot weld it in.

So, it's on to the seat belts. The problem with the front belts is that the pretensioners have been set off and the belts are locked firmly in position. With my research assistant, Mr A Grinder, I set about finding out how it all works. Here is the patient on the operating table..


and here it is after the vivisection..

Very interesting but now beyond use! Time for another go. Fortunately there is another Fiesta in the loft from which I'd already removed the seat belts.


The pretensioners on these had gone off as well so perhaps a more delicate approach is required. All that is required is that the bottom of the pretensioner needs to be cut off ...


and then the rack pulled out...


Et voila!

Here are the belts roughgly installed. Not sure if thats right yet but we'll see!


Next job is to scope out the dashboard cheek pieces.A certain amount of fettling required but here they are roughly in position.

Here is the drivers side with the temperature gauge fitted..

and the passenger side with the cut off switch.


As you can see there are not quite the perfect fit or colour  - yet.


Week 57 - The Test

 Got all the paperwork off to register it as a car now to test it as a boat!! Here are a couple of videos and some photos of it in action....