Saturday 30 January 2021

Week 17 - The Build

After the interesting learning experience of last week it's onward with the build this week. Started off by knadgering my already dodgy knee! Good job the first thing was to buy all the bits required to repair lasts weeks damage. eBay to the rescue hopefully.

Next job was to install the handbrake cables to the lever mechanism. This was made much easier with the engine out! I knew some good would have come of it. Before the cables could be installed the yoke at the lever end had to be cut to release the cables.

Here it is pretty much assembled.

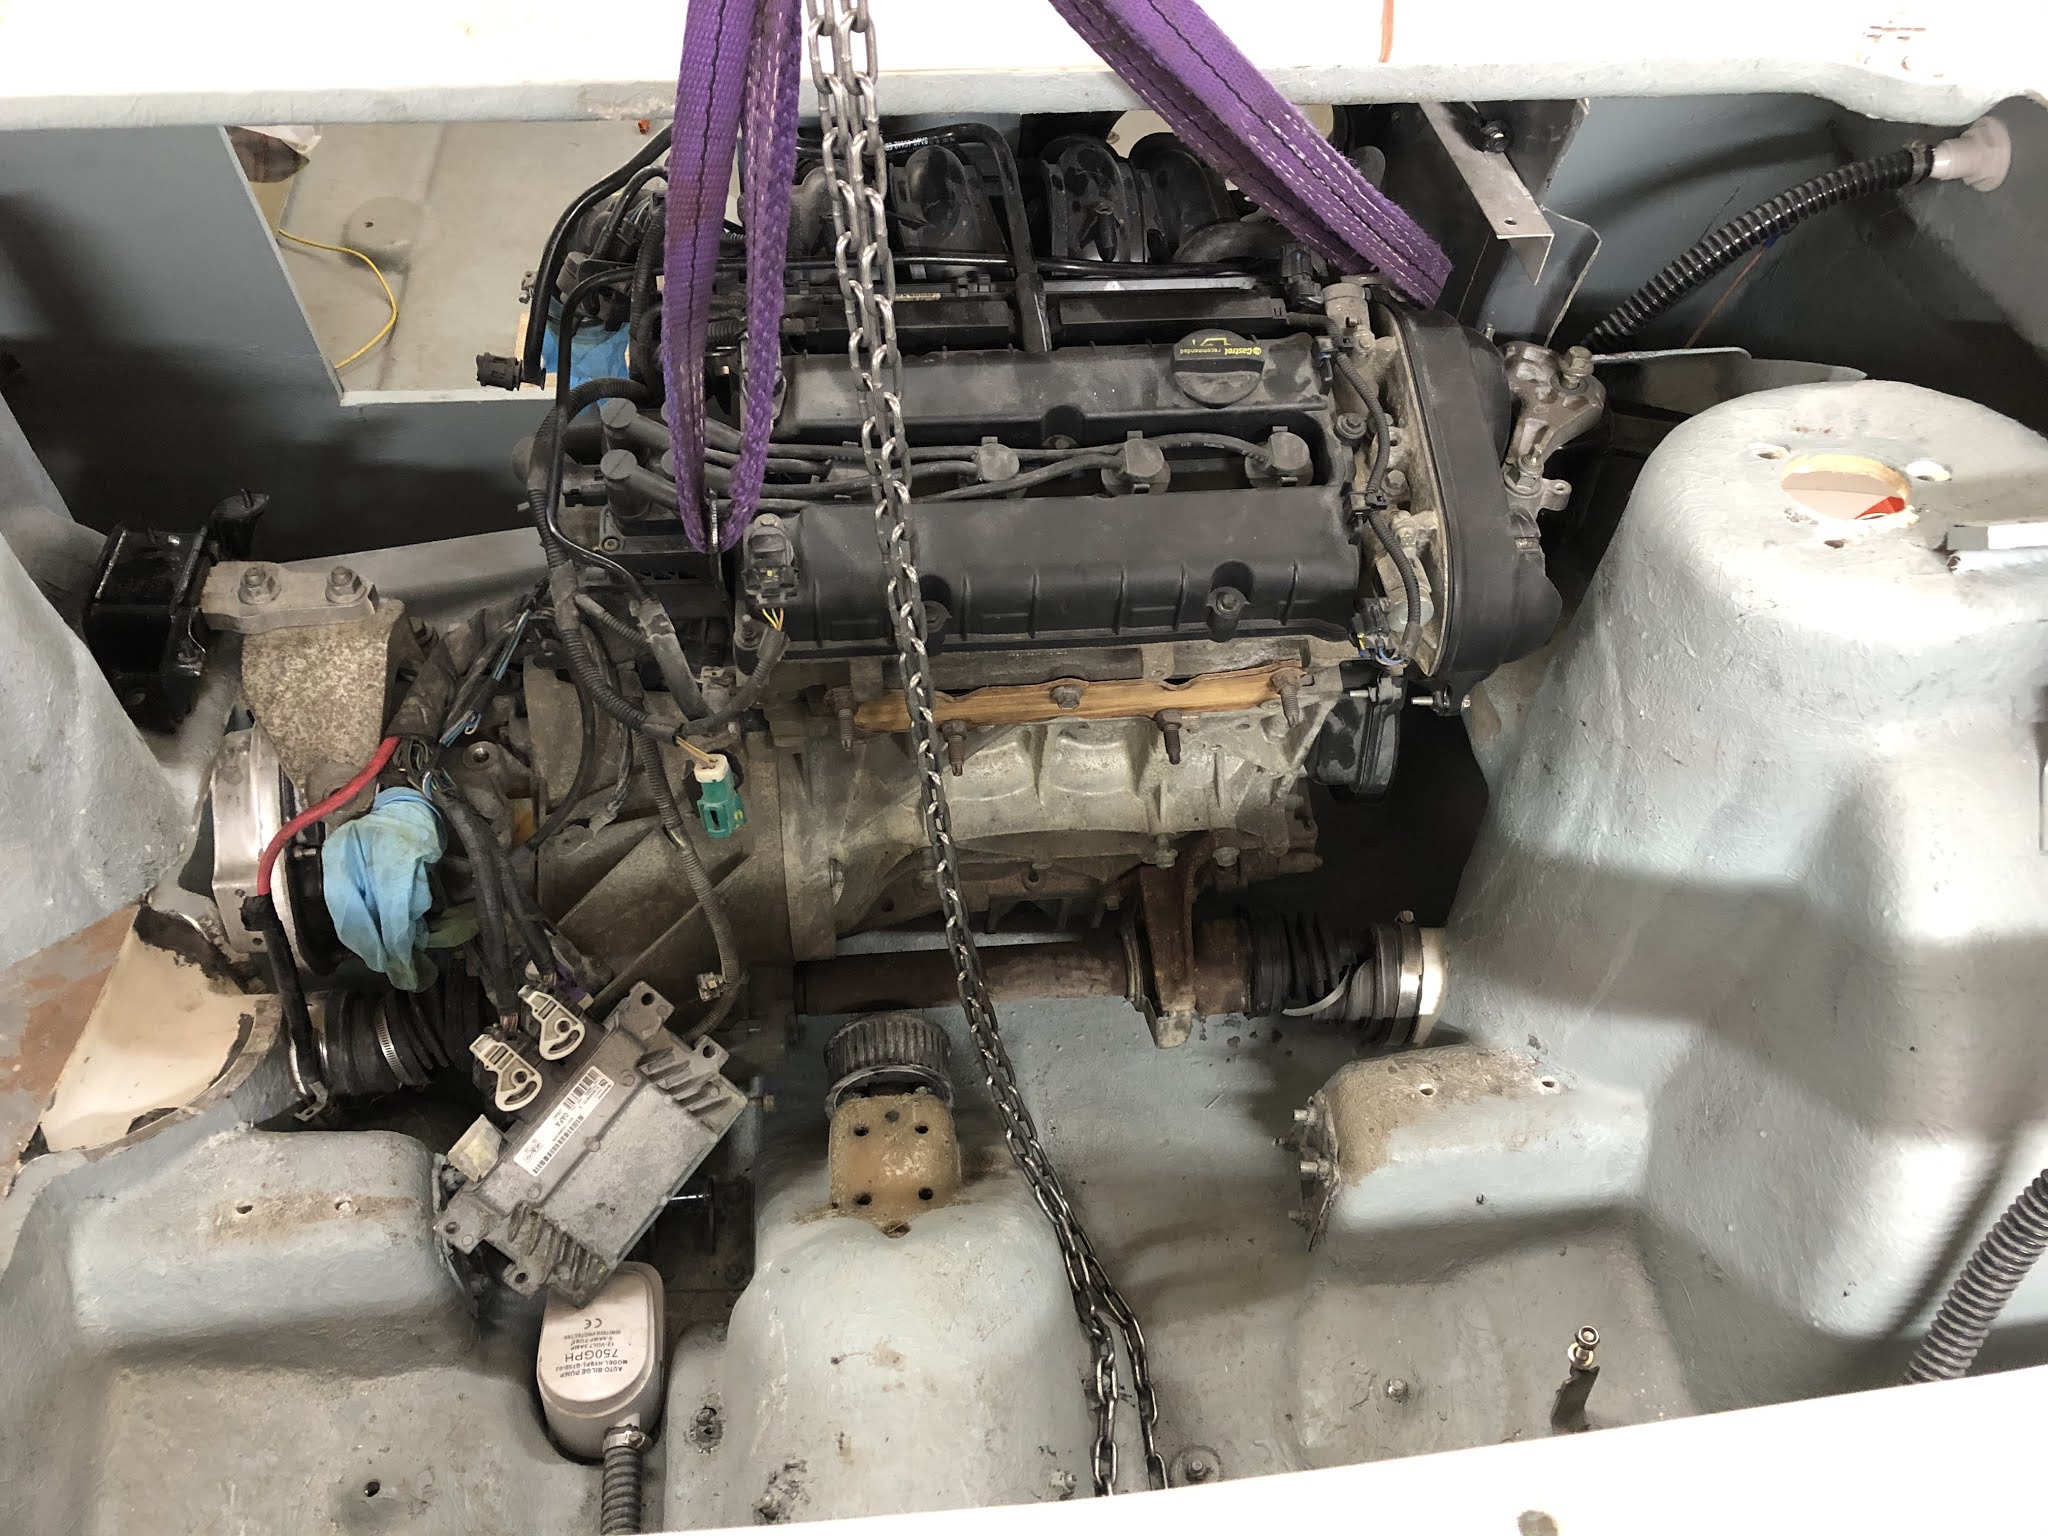
Now seems a good time to install the gear selector cables. There are two cables that translate the back and fore and the side to side movements of the lever to the gearbox. So far these are just installed from the lever to the engine room.


 As the only thing so far installed that is supposed to move about, here is a short video!

A couple of other little jobs were to connect the handbrake switch...

and to bolt on the hooter...

.... little stuff but it all progresses the project!!


As the week went on the bits I needed started to arrive. The prize buy was a second hand drive shaft from a breaker. This was a complete shaft from gearbox to hub. All I need is the tripod bearing. Easy enough to pull off the rubber gaiter to expose the bearing. First thing to note is that there is about a ton of grease inside the gaiter and it will get everywhere. After that it's just a matter of releasing the circlip then pulling the bearing off the shaft. Its pretty essential before getting too rough is that you tape up around the tripod to prevent the outer bearing shells to slip off. 

First plan was to pull the bearing off the shaft with a bearing puller. No luck as the jaws of the puller cant get a decent grip. Second plan was to hammer the shaft off the bearing with aa air hammer. No luck with that either. Next was to hammer the shaft through the bearing. That went quite well until the end of the shaft was flush with the bearing and it would then budge no more. Next plan was to take it to a local garage so they could push it off with a hydraulic press. No luck with that either!! Eventually a very big man with a very big air hammer was able to push the shaft out of the bearing!! Phew A big Thanks to Richard and the boys at Llanishen  

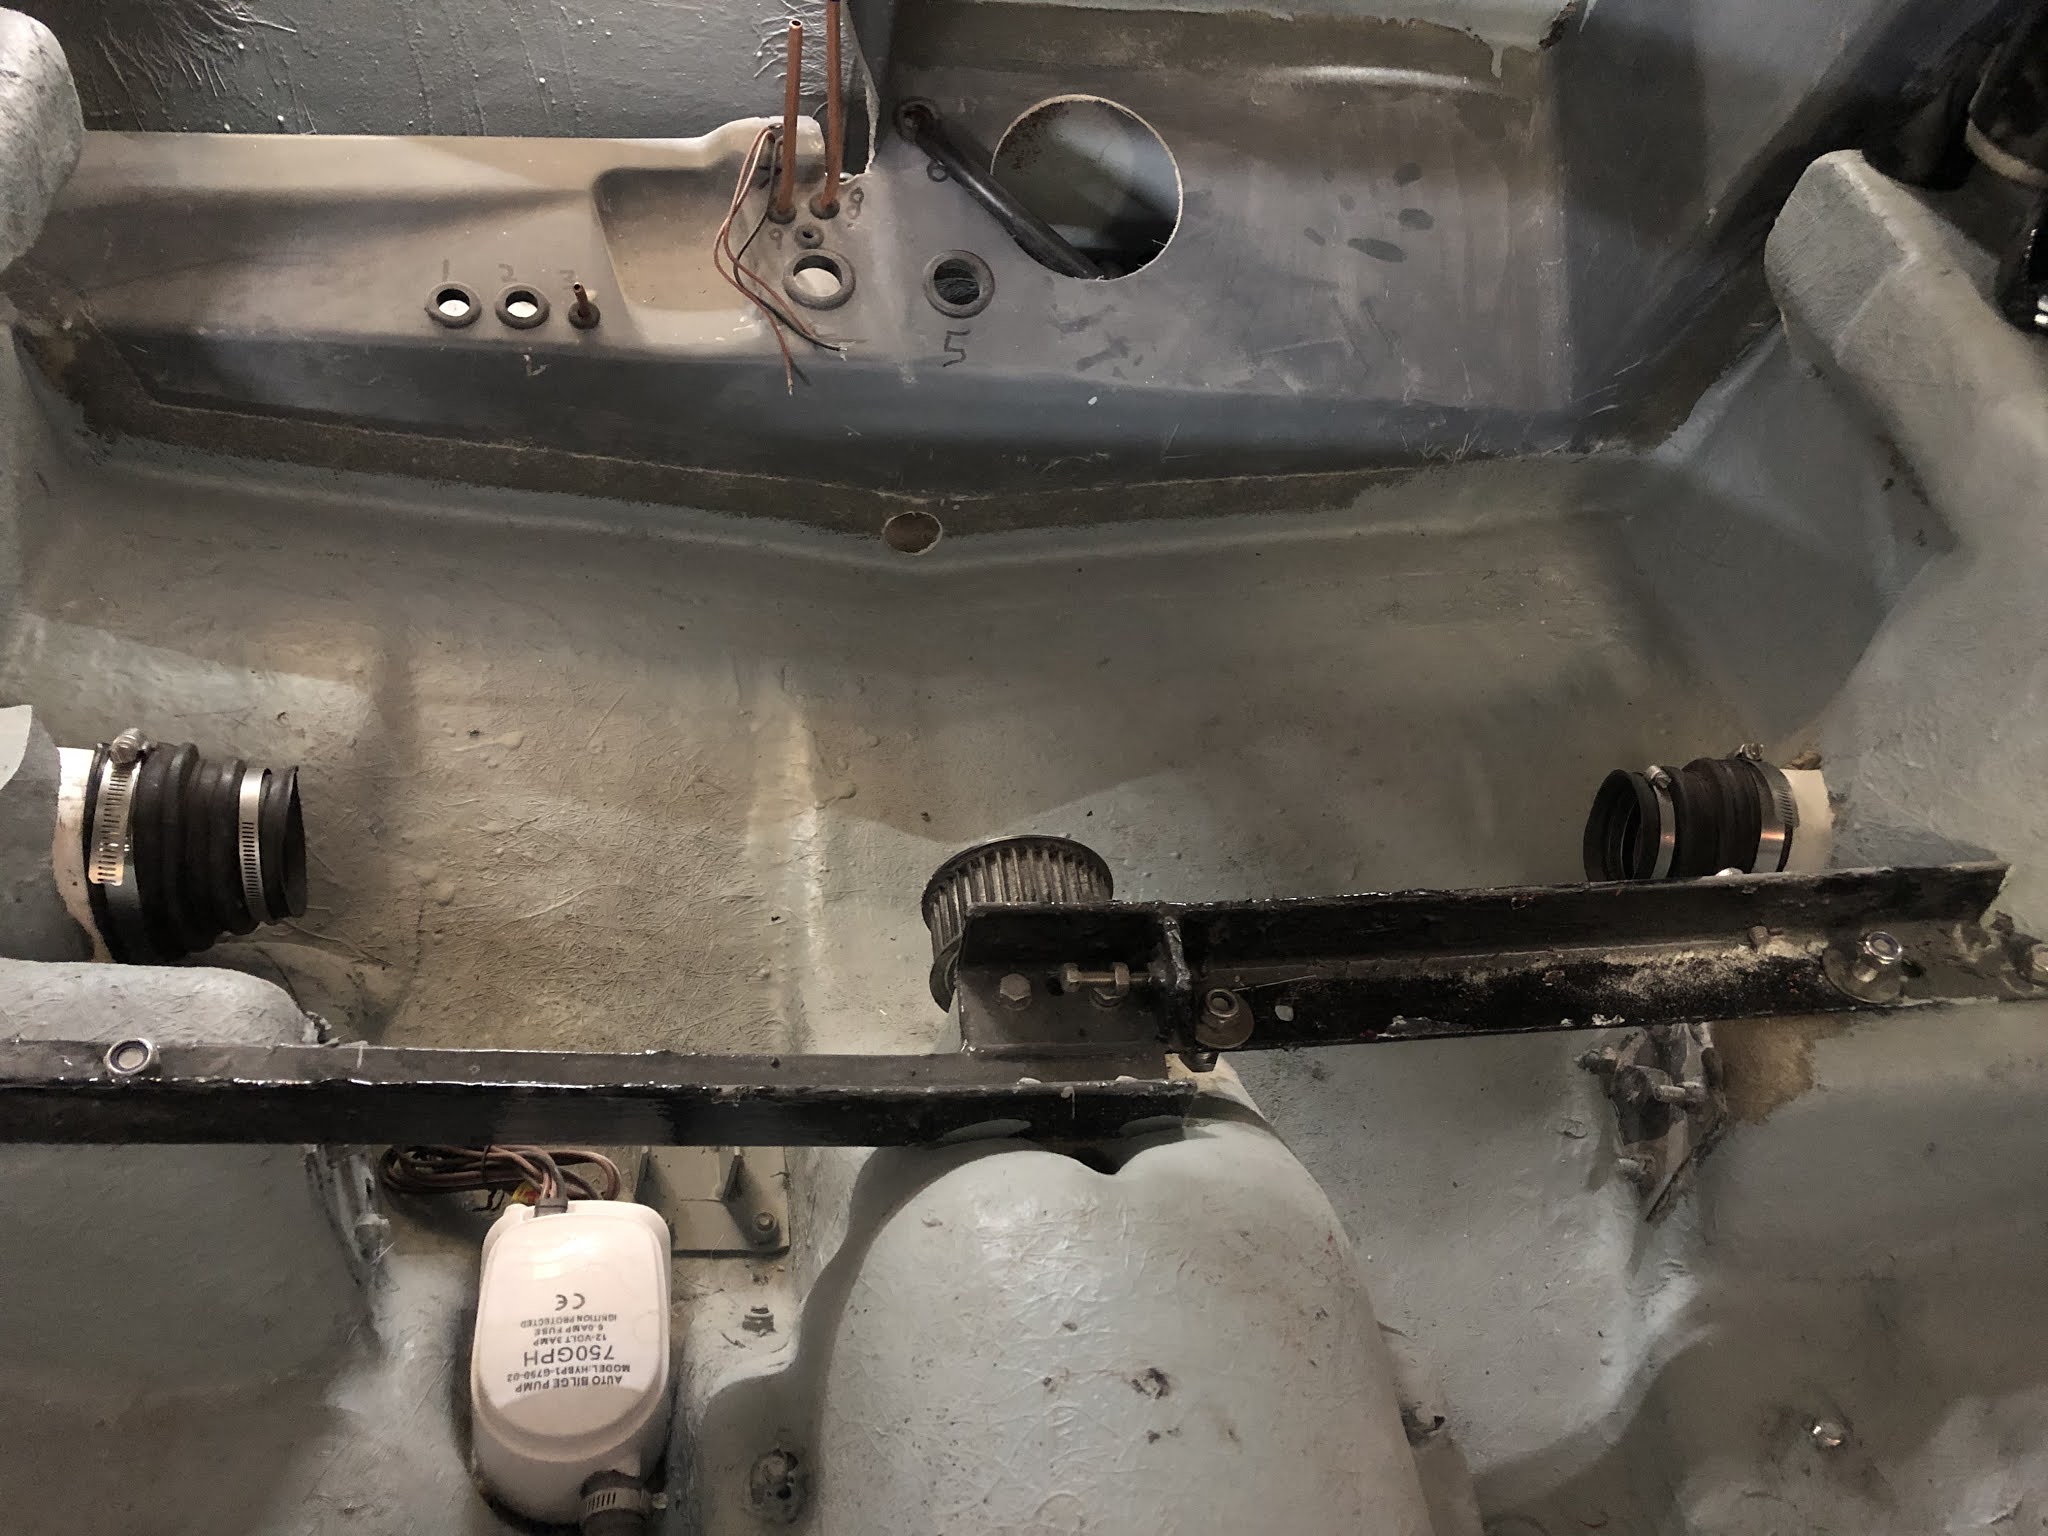
Next week its to assemble the drive shafts and get the engine back in..

Friday 22 January 2021

Week 16 - The Build

 Shouldn't have felt so smug last week in getting the engine in! It's been several steps back and none forward this week.

I installed the engine with the inner CV joint tripod hub and rubber gaiters already installed. Fitting the drive shafts would then be a simple matter of pushing them through the hull and engaging the splines on the tripods, What could go wrong!

What goes wrong is that the drive shaft just pushes the tripod deep into the stub axle and the splines don't engage. There is a circlip that secures the tripod onto the drive shaft and so the end of thedrive shaft needs pre-assembly before putting in the engine.

Easy enough to take the engine out. Needs a bit of a jiggle, but out it comes. 

So its just a matter of slipping the tripods over the shafts which are already inserted into the engine room. The aperture in the hull is not big enough to pass either CV joint through it. Anyway so on goes the clip and the rubber boot followed by the tripod. Its a tight fit so a quick nudge with a hammer required. Then one of the lobes of the tripod comes apart and all the needle rollers come out. 


Annoying but not too serious except I cant get the tripod of the shaft. This is annoying. I have solved the problem by cutting off the rubber boot and using the angle grinder to sort out the tripod.

They say that everyday is a school day. I learned a lot about drive shaft CV joints this week.


Thursday 14 January 2021

Week 15 - The Build

 An interesting week. A simple job of getting the engine mounted in the car. It didn't work out at all as expected!

Before lifting in the engine I mounted the bracket that holds the drive from the gearbox to the water jet.


 Thats simple enough so its just a simple lift into the car..


The first problem is there is absolutely no way of getting it in with the bracket. So that has to come off. Take 2. Tried again with out the bracket. No luck, but I did manage to snap off the top of the dipstick!


Oh Dear - never mind. It was apparent fromand subsequent abortive attempts that there is very little room for in the engine room! The engine has to fit below the deck in front of the lid but not foul the jet drive pully at the bottom. There is very little side to side movement available. Also it's going to be very difficult to assemble the inner cv joints so I've inserted the bearings and put the rubber gaitors over the shafts

Having previously removed the right angle gearbox for the water jet. I also had to remove the beam that held it in.


 I also took the pulley off the power take off so here it is all good to go for Plan 27(a)


 During the week I tried everything - putting the gearbox end in first, putting the front end in first but all to no avail. So resorted to using the tape measure and was relieved in a funny sort of way that the engine is wider that the engine bay! Not by a lot but by enough. An advantage of doing this project in a bodyshop is that nobody is shy of getting air driven saws to work. A bit of flap disk sanding as well to take a few edges off.

After a lot of pushing and shoving its in.


So that thejob done really. All I have to do now is connect the fuel pipes, the clutch, the radiator and cooing system, exhaust, air filter, drive shafts, electronics and electics, brake vacuum and everything else I've forgotten about in the year since I took the engine out!


.


Friday 8 January 2021

Week 14 - The Build

 I've had a couple of weeks off over Christmas and the New Year and so this week started construction again with renewed energy!

The first job has been to connect up the wiring loom earth connections. All the body earthing wires from the fiesta will be connected to either the engine, the dashboard frame or bolt in the fo'csle. All these in turn will connect to the negative battery terminal. 

 In the fo'csle....


and on the dashboard...


The next job I'd been putting off was to extend the wiring loom to the port side headlamp unit. Really frustrating having to extend 8 wires by 5 inches. But now done.


Next thing is to start preparing for the engine to go back in.


The first part of that is to refit part of the driveshafts. On the stbd side the whole intermediate shaft and on the port side the splined end of the driveshaft only will be fitted. The shafts themseves are modified to incorporated an additional bearing. This will be clipped onto a rubber gaitor that fits onto the hull.

Here is the intermediater shaft back on.


Having got the shafts in, the gearbox can now be filled with oil. The filler and level plug is on the front of the gearbox. I used a funnel and some tubing to fill the gearbox to the correct level. It took almost forever as the tubing was very narrow and the oil was, as everything else in the workshop, freezing cold.


The driveshafts pass through rubber gaitors to the outside. Its going to be a nightmare fitting these with the engine in so I've fitted them to the hull now...


Next week the engine is going in.!!! Probably


Week 57 - The Test

 Got all the paperwork off to register it as a car now to test it as a boat!! Here are a couple of videos and some photos of it in action....