Wednesday, 26 January 2022

Week 49 - The Build

Last week saw the last of the mechanical work completed. So the next job is road testing to see whats needs doing again!

Its been sat on a dolly since I first started so it was interesting to see how it sat on its wheels. All four touch the fround at the same time, so a good start. Next its road test time!!

Here are a couple of photos of it overlooking Caerphilly on a rather dull morning ...


and a couple of videos of it being driven...


This little drive revealed a number of issues that need further attention! Binding brakes for a starter.

Saturday, 15 January 2022

Week 48 - The Build

 Its been a long week - again! I didn't do anything much leading up to Christmas until a few days into the New Year. 

Previously I'd managed to pull the port side drive shaft out of its socket and so had to dismantle loads of bits to get it back in. Well, thats all done and all seems in order in that regard at least.

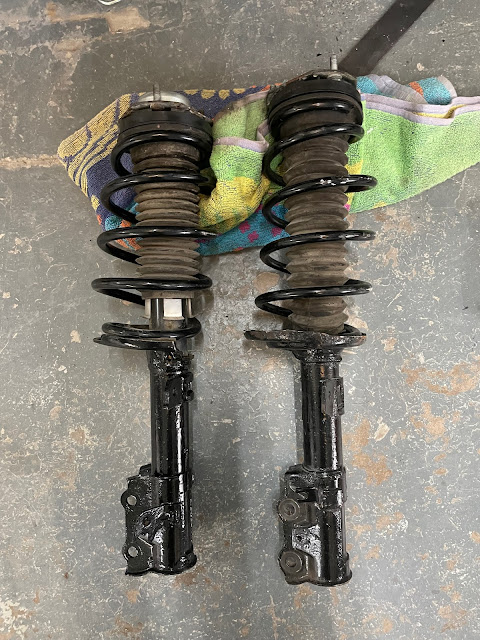
The problem was caused by the suspension strut fouling the plate that covers the hole by the drive belt from the gearbox. The solution is to use a strut from a Mk7 Fiesta later than 2013. My donor is a 2009 model.The new model has a different spring and orientation and, with a bit of angle grinding to reshape the lower shroud, its all fits lovely.

Here are the two struts. The original strut on the right and the modified strut on the left. The area of interest is at the bottom of the spring. You can see the extra clearance.


Here it is with all the suspension and brakes back on. I've also bolted on a strap to restrain the brake pipe and cables.


Thursday, 23 December 2021

Week 47 - The Build

 So, the time has come to fit the cover over the drive belt in the port quarter wheel arch. Been dreading this for somewhile. 

This is where the cover goes....

The first job is to get the suspension off....

and here it is all in place with a few self tappers and a mountain of PU sealant...


just need to get the suspension back on....

Couple of points of note here a) the cover fouls the drive belt and b) you cant get the suspension back on without the strut fouling the cover as well. Grr..

In the process of discovery I managed to pull the drive shaft out of the gearbox. This was very dissapointing.

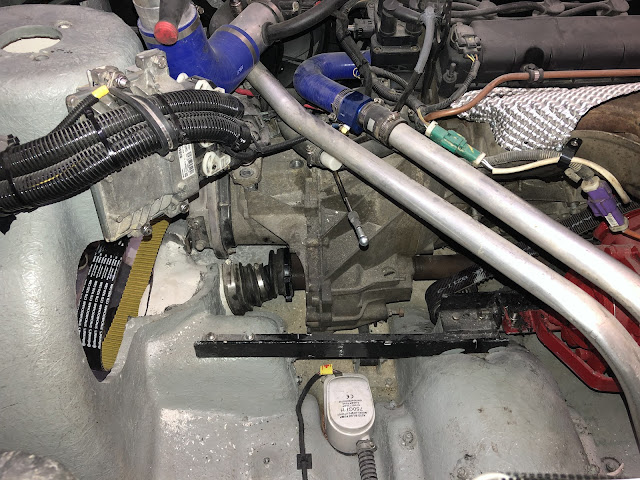
Here you can see, but not touch, the problem inside the red circle.


As you see, half the known universe has been bolted on around the joint so it all has to come off. 

Managed to get the cover off using a selection od saws, wedges and a bit of brute force.

Here it is with everything off and the drive shaft back in. Phew! Now to put it all back together.


Next time its getting it all back together..  but first we have Christmas!!!


Saturday, 11 December 2021

Week 46 - The Build

 I left it the other week with the cockpit sole cut in half. Well here it is again screwed back together in situ. the aft section needed to be raised so it didn't foul the various pipes and tubes that run below. Not super happy about the water drive cable but its miles too long and had to go somewhere. In retrospect I'd probably have routed it elsewhere - but hey.


Here it is with the cenre console installed....


Next is to trial fit the back seats. The squab is secured to the cockpit sole with no access to the underside. Thank goodness foe rivnuts!

Here is one side done!


And here are the back seats trial fitted.


During the dismantling of the Fiesta I must have felt over enthusiastic in the reomoval od the gear lever gaiter so its in four pieces where one bit would have been ideal.

The 'leather' bit needs to be reattached to the frame and clipped back into the console...


And trial fitted in the cockpit...

Next time I'm going to attach the cover over the drive belt on the port quarter wheel arch!


Monday, 29 November 2021

Week 45 - The Build

 I left it last week pondering the shield around the steering column. The gap between the column and the brake pedal is narrow so the shield needs to allow full travel of the brake pedal and full rotation of the steering column and be strong enough to resist a bit of a kicking.

Not so easy  - however using some plastic cups and a lot of masking tape I did manage to make what was a mould for some GRP. Difficult to see in the photo as the cups are transparent!


Anyway, here it is being glassed up...

.. it came out of the mould lovely and trimmed up with the angry grinder. The bad news is that it doesn't fit! The mould was quite fragile and I think the weight of the fibreglass must have distorted it!

Quite dissapointing really as it took a week to mess that up. I'm now wondering if I need one at all! A quick survey shows that most cars dont have one..

Onwards.


Friday, 19 November 2021

Week 44 - The Build

This week it's been more work on the interior. The cockpit sole is supplied as a single piece of grp. 


Can't think how this is supposed to go in as a single piece - too big for me anyway! Easy solution is to cut it in half!


It can always be glassed back together if required. Here they bits are in a trial fit.


 Still a few bits to be done before final fitting, including making a shield around the steering column down by the pedals. 

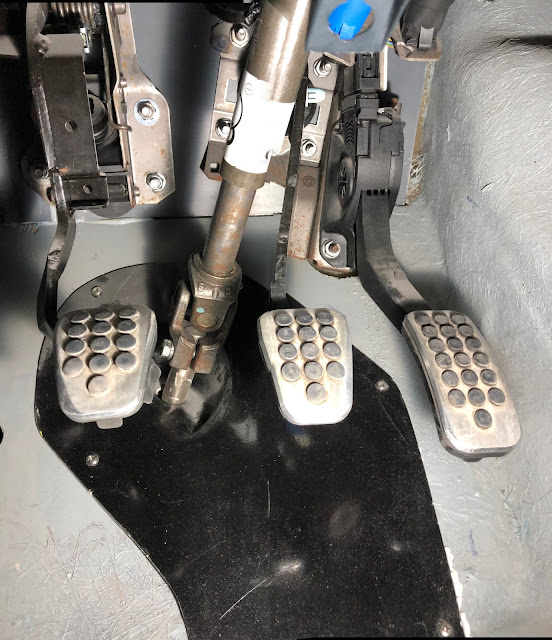
Here you can see how close to the pedals is the joint where the column joins the rack! It's almost possible to steer with a foot or even jam a shoe in there.

I'm hoping to make a glassfibre shield but need to improve my template making skills while lying upside down in the dark.


Tuesday, 9 November 2021

Week 43 - The Build

First job this week was to adjust one of the switches operated by the brake pedal. Part of the switch was up against the steering column which is not good. Here you can see where it's mounting bracket has been bent over a bit to give a good clearance.


Next job is to secure the morse cable that connects the rudder to the steering. The forward end connects to the starboard suspension spring which rotates as the steering is applied. the other end is secured to the rudder. Here is is!

Next job was the tightening up and tidying up of stuff in the wheel arches. Notably the trackrod ball joints, wishbone pinch bolt and tying back the brake pipe and wheel speed sensor cable. I've got some white PU sealer coming to seal all the through hull holes which will be done in a single seeion later.


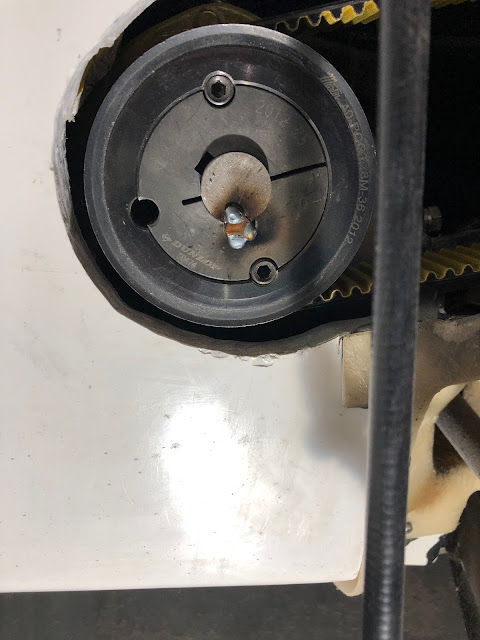
The avid reader of this blog will remember the key falling out of the pto pulley. This has now been sorted out with a couple of dabs of weld between the key and the shaft and the key and the pulley.

An important feature of any modern motor vehicle is to have the ability to know the outside temperature. I've mounted the sensor on the outside of the scuttle near the fuel filler.

Because I can, I've taken the wires from the original 'bonnet open' switch to a pair of spring mounted bolts that are shorted out by a copper plate glued to the inside of the bonnet. Here you can see the plate and the contacts..

and here the contacts in more detail.


Week 57 - The Test

 Got all the paperwork off to register it as a car now to test it as a boat!! Here are a couple of videos and some photos of it in action......