Tuesday, 19 October 2021

Week 41 - The Build

 Another long week since my last post and also the second anniversary of the ordering of the kit and 13 months since taking delivery of the first bits.

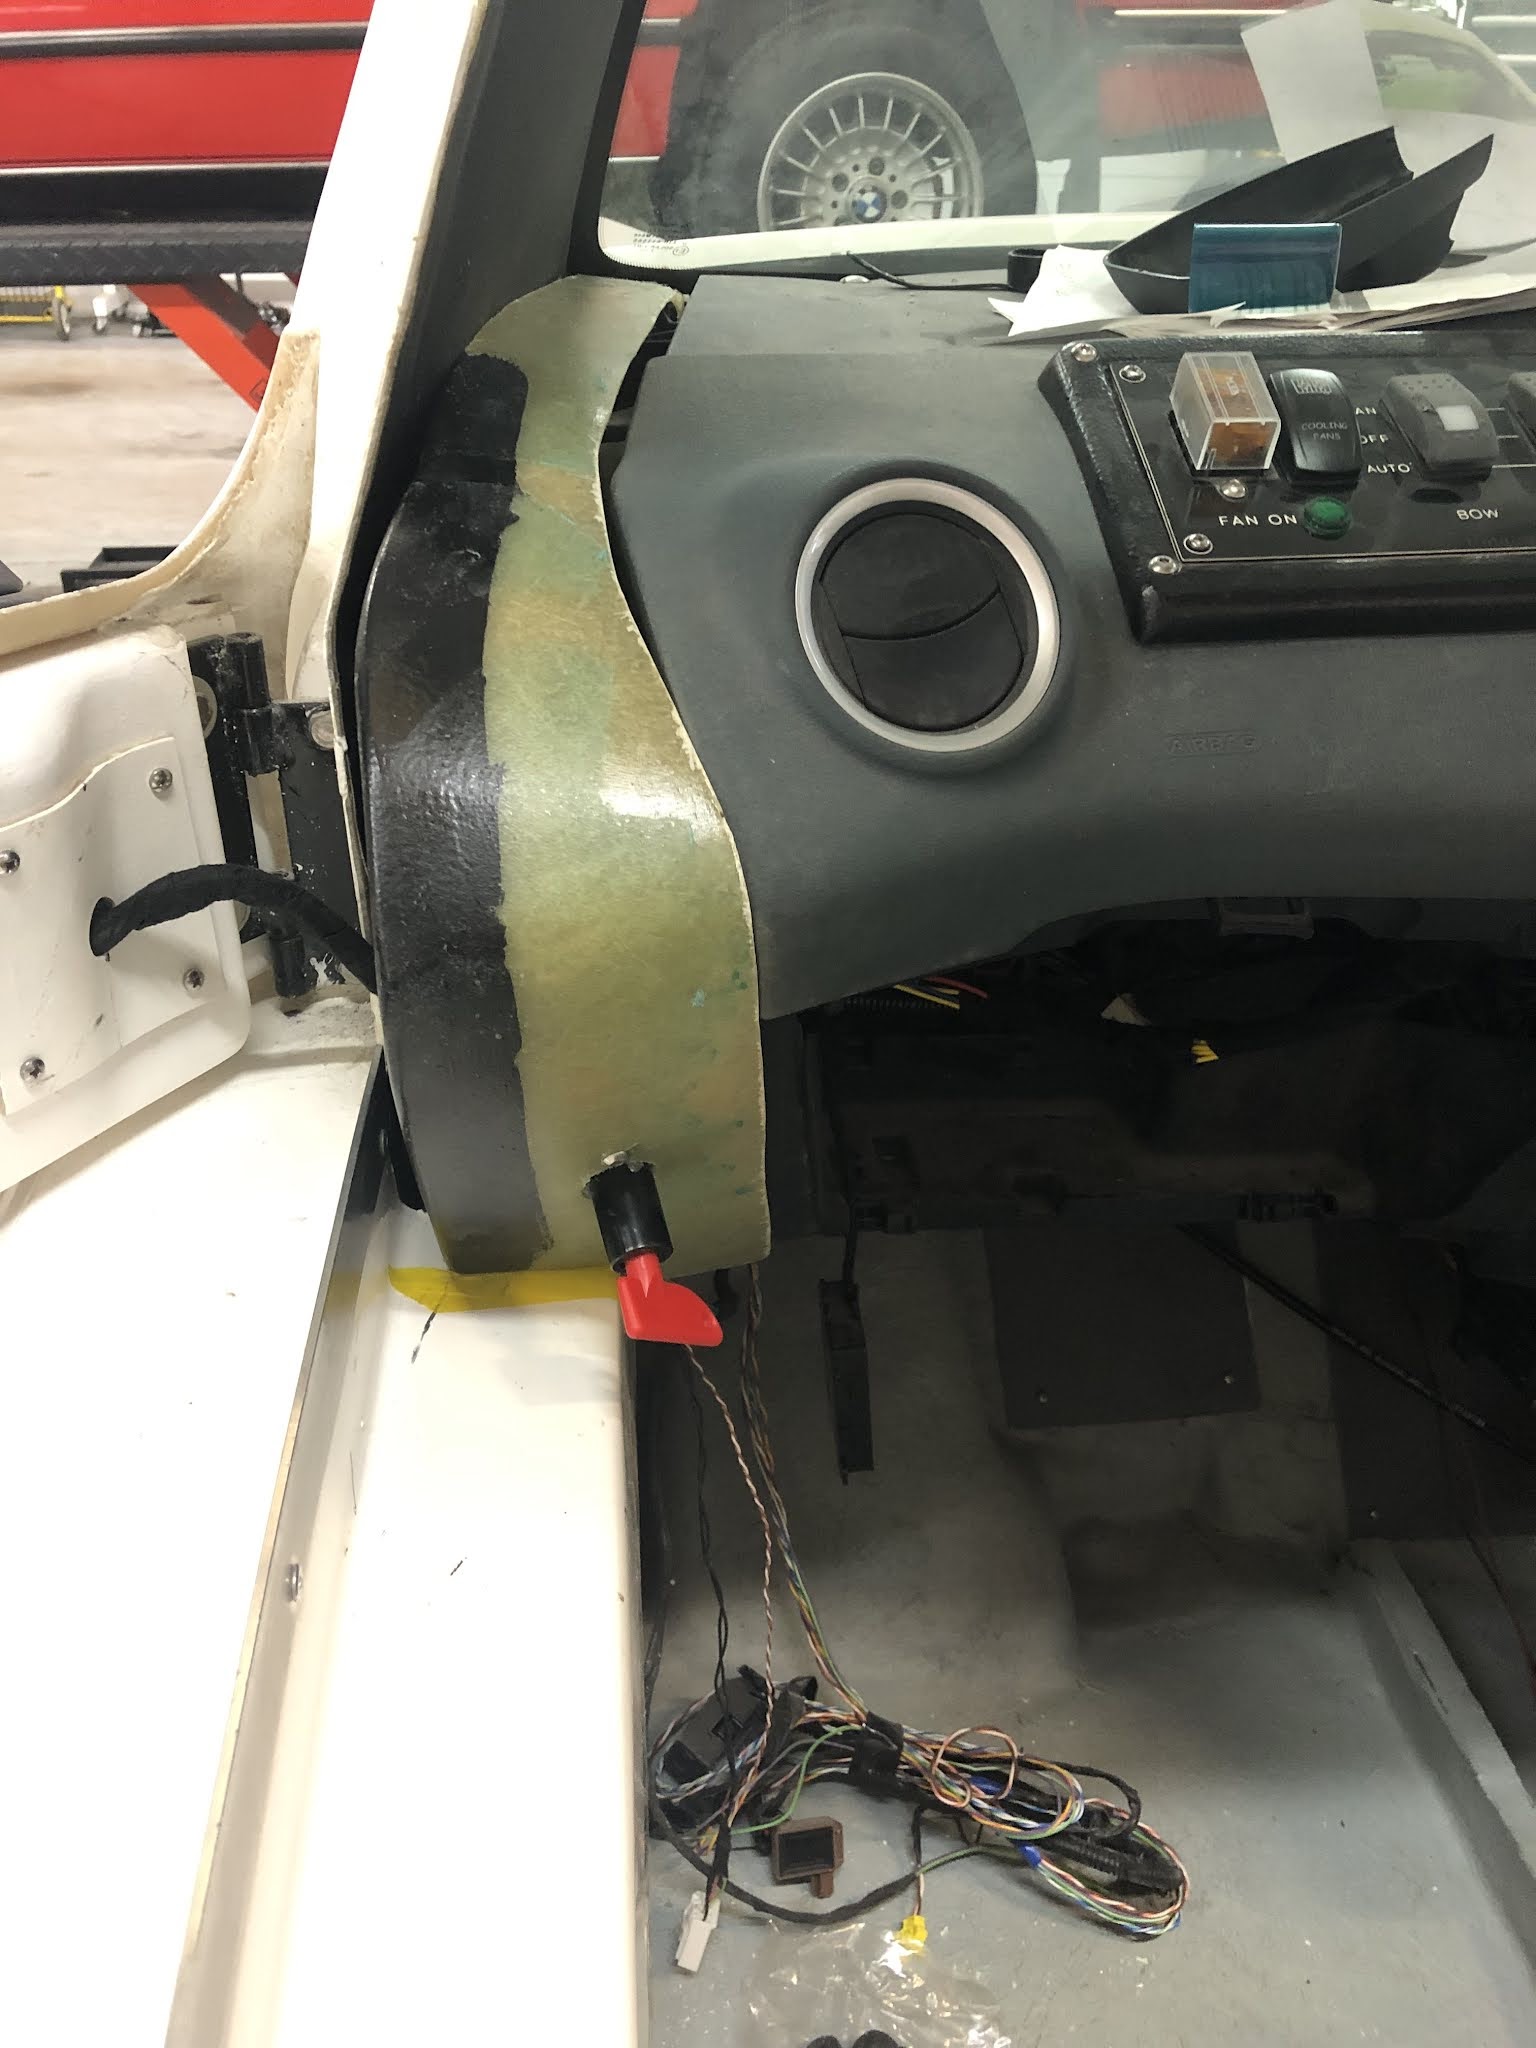
Anyway, last report ended with me sizing up the dashboard cheek pieces and seeing them as a not deparately good fit. so the first job was to rectify that. Firstly they needed a bit of reshaping including removing the tang at the forward end. The inner edge needed to be abit wider in places. Fibreglass can sort that out...Here is one side with a mold made from cardboard and masking tape.


Then they need covering in van liner cloth.This stuff is very stretchy and can be persuaded to follow almost any contour.

Here is the dashboard with them installed with the temperature gauge on the stbd side and the cut off switch to port.


The next job was to install the radio aerial! (It gives a clue as to the progress being made when that job came to the top of the list.) The kit did include an aerial that looked as it it had been made in the early '60s. It did have a coax cable which I used to extend the original cable. I actually added the new bit in the middle of the original as I wanted to keep the original termination. The inside of the A pillar had already been covered in vinyl so the top was peeled back...


 .... the coax threaded up the A pillar and across the top of the windscreen and out by the courtesy light...

... then screwed to the original aerial after a bit of nibbling on the roof ...


Looks pretty good I think. 

Next time its another myriad of little jobs...


Saturday, 2 October 2021

Week 40 - The Build

 A bit of a busy week but one of mixed fortunes. Having a bit of a tidy up I saw this...


and that, my hearties, it the key to the drive sprocket that appears to have fallen out. I put it back in but it slides in and out quite easily. I've tightened up the taper lock hub as tight as tight can be but its still loose. I shall have a think before I spot weld it in.

So, it's on to the seat belts. The problem with the front belts is that the pretensioners have been set off and the belts are locked firmly in position. With my research assistant, Mr A Grinder, I set about finding out how it all works. Here is the patient on the operating table..


and here it is after the vivisection..

Very interesting but now beyond use! Time for another go. Fortunately there is another Fiesta in the loft from which I'd already removed the seat belts.


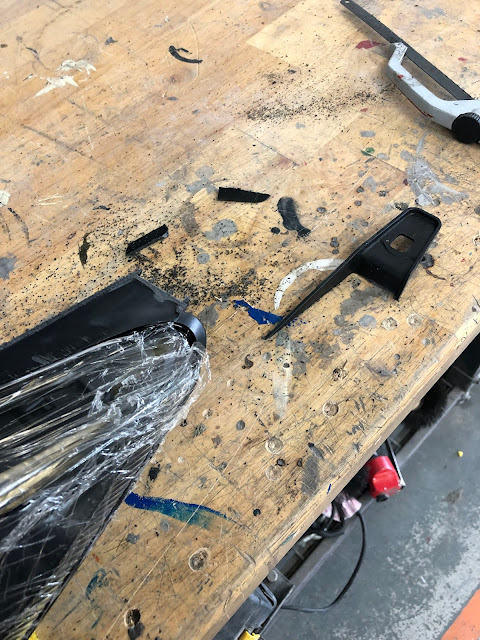
The pretensioners on these had gone off as well so perhaps a more delicate approach is required. All that is required is that the bottom of the pretensioner needs to be cut off ...


and then the rack pulled out...


Et voila!

Here are the belts roughgly installed. Not sure if thats right yet but we'll see!


Next job is to scope out the dashboard cheek pieces.A certain amount of fettling required but here they are roughly in position.

Here is the drivers side with the temperature gauge fitted..

and the passenger side with the cut off switch.


As you can see there are not quite the perfect fit or colour  - yet.


Friday, 24 September 2021

Week 39 - The Build

 Busy week just gone and some big cosmetic changes! Really making some progress now. 

First job was to fit the fibreglass duct that guides the air from the outside through the raadiator and out the back of the boat. A key feature of this duct is that it secures the top of the radiator. Because of the way I installed the radiator and the gear cables and clutch hose etc, that part of the duct doesnt extend forward enough. I extended this enough with cardboard so as to make a mold for some fibreglass.

Here it is ready for the fibreglassing..

Here it is out of the mold...


...


and painted black to make it like it was always like it!


 and here it is all installed. The air filter is the blue thing and the hole above the engine oil filler cap will have a cover fitted.

Next job is to make a switch to connect to the 'Boot open' cable. A couple of spring loaded bolts to which are attached the wires and a copper strip on the engine cover.

Here it is in action..


Next job was installing the door mirrors, interior mirror,sun visors and the steering wheel centre for the hooter.

Here they are all done..


Sunday, 19 September 2021

Week 38 - The Build

 First job with the exhaust mounting is to make a bracket to hold uo the silencer. Nothing supplied in the kit so its fabrication time. I do like a bit of bracketry! The plan is to weld sone 10mm steel rod to an exhaust clamp and bolt this to the plate that holds the dog clutch.

Here are the three pieces required. the clamp, a bit of bent rod and a sawn off bolt...

 
and here is the big metal glue gun...


and here it is sort of welded up..


As elegant a bit of metal work as ever I've seen if I do say. It is on the other hand almost useless as while it supports the exhaust it it wobbles about like a mad thing.


Take two includes an extra rod. I've managed to disguise the poor welding with plenty of angry grinder action. Here it is dry fitted to see if its any good. It almost perfection and will be getting plenty of paint. before final installation..


Here is a glimpse of what it will look like with the silencer installed
 

Thursday, 9 September 2021

Week 37 - The Build

 Left it last week daring to swap the interior rear view mirror mounting. First job is to lay into it all with the angry grinder and see how it might fit together!

And here we are. A few gaps but that can be sorted out...


.... with a lot of Araldite.


Left it to set for a couple of days and it fits nicely.

Next job is to sort out the lights. Both the headlights on the donor were broken so ordered some nice Taiwanese replacements. A lot cheaper than the Ford parts but still impressively expensive.

There needs to be some minor adjustment of the mounting brackets first.

This photo shows the protruding bracket that needs to come off.

... the same thing from the other side.
and here it is gone!

They units then simplt fit into the hull and plug into the existing loom.

They do slighty foul the front corners of the bonnet but that can be sorted out later.

The rear lights are not from the donor. The supplied lights are fitted into a housing that then bolys to the inside of the hull and wired into the existing loom. 

Here they are in the housing from the rear..

and from the front.


And here is a short unimaginative video showing all the rear lights working.


... and the nav light!!


Next week it's finish off the engine bay by fitting the exhaust pipe and the ducting around the engine.

Saturday, 21 August 2021

Week 36 - The Build

 After last weeks efforts it's now apparent that all the big jobs are done. Just another million little but important jobs left to do!

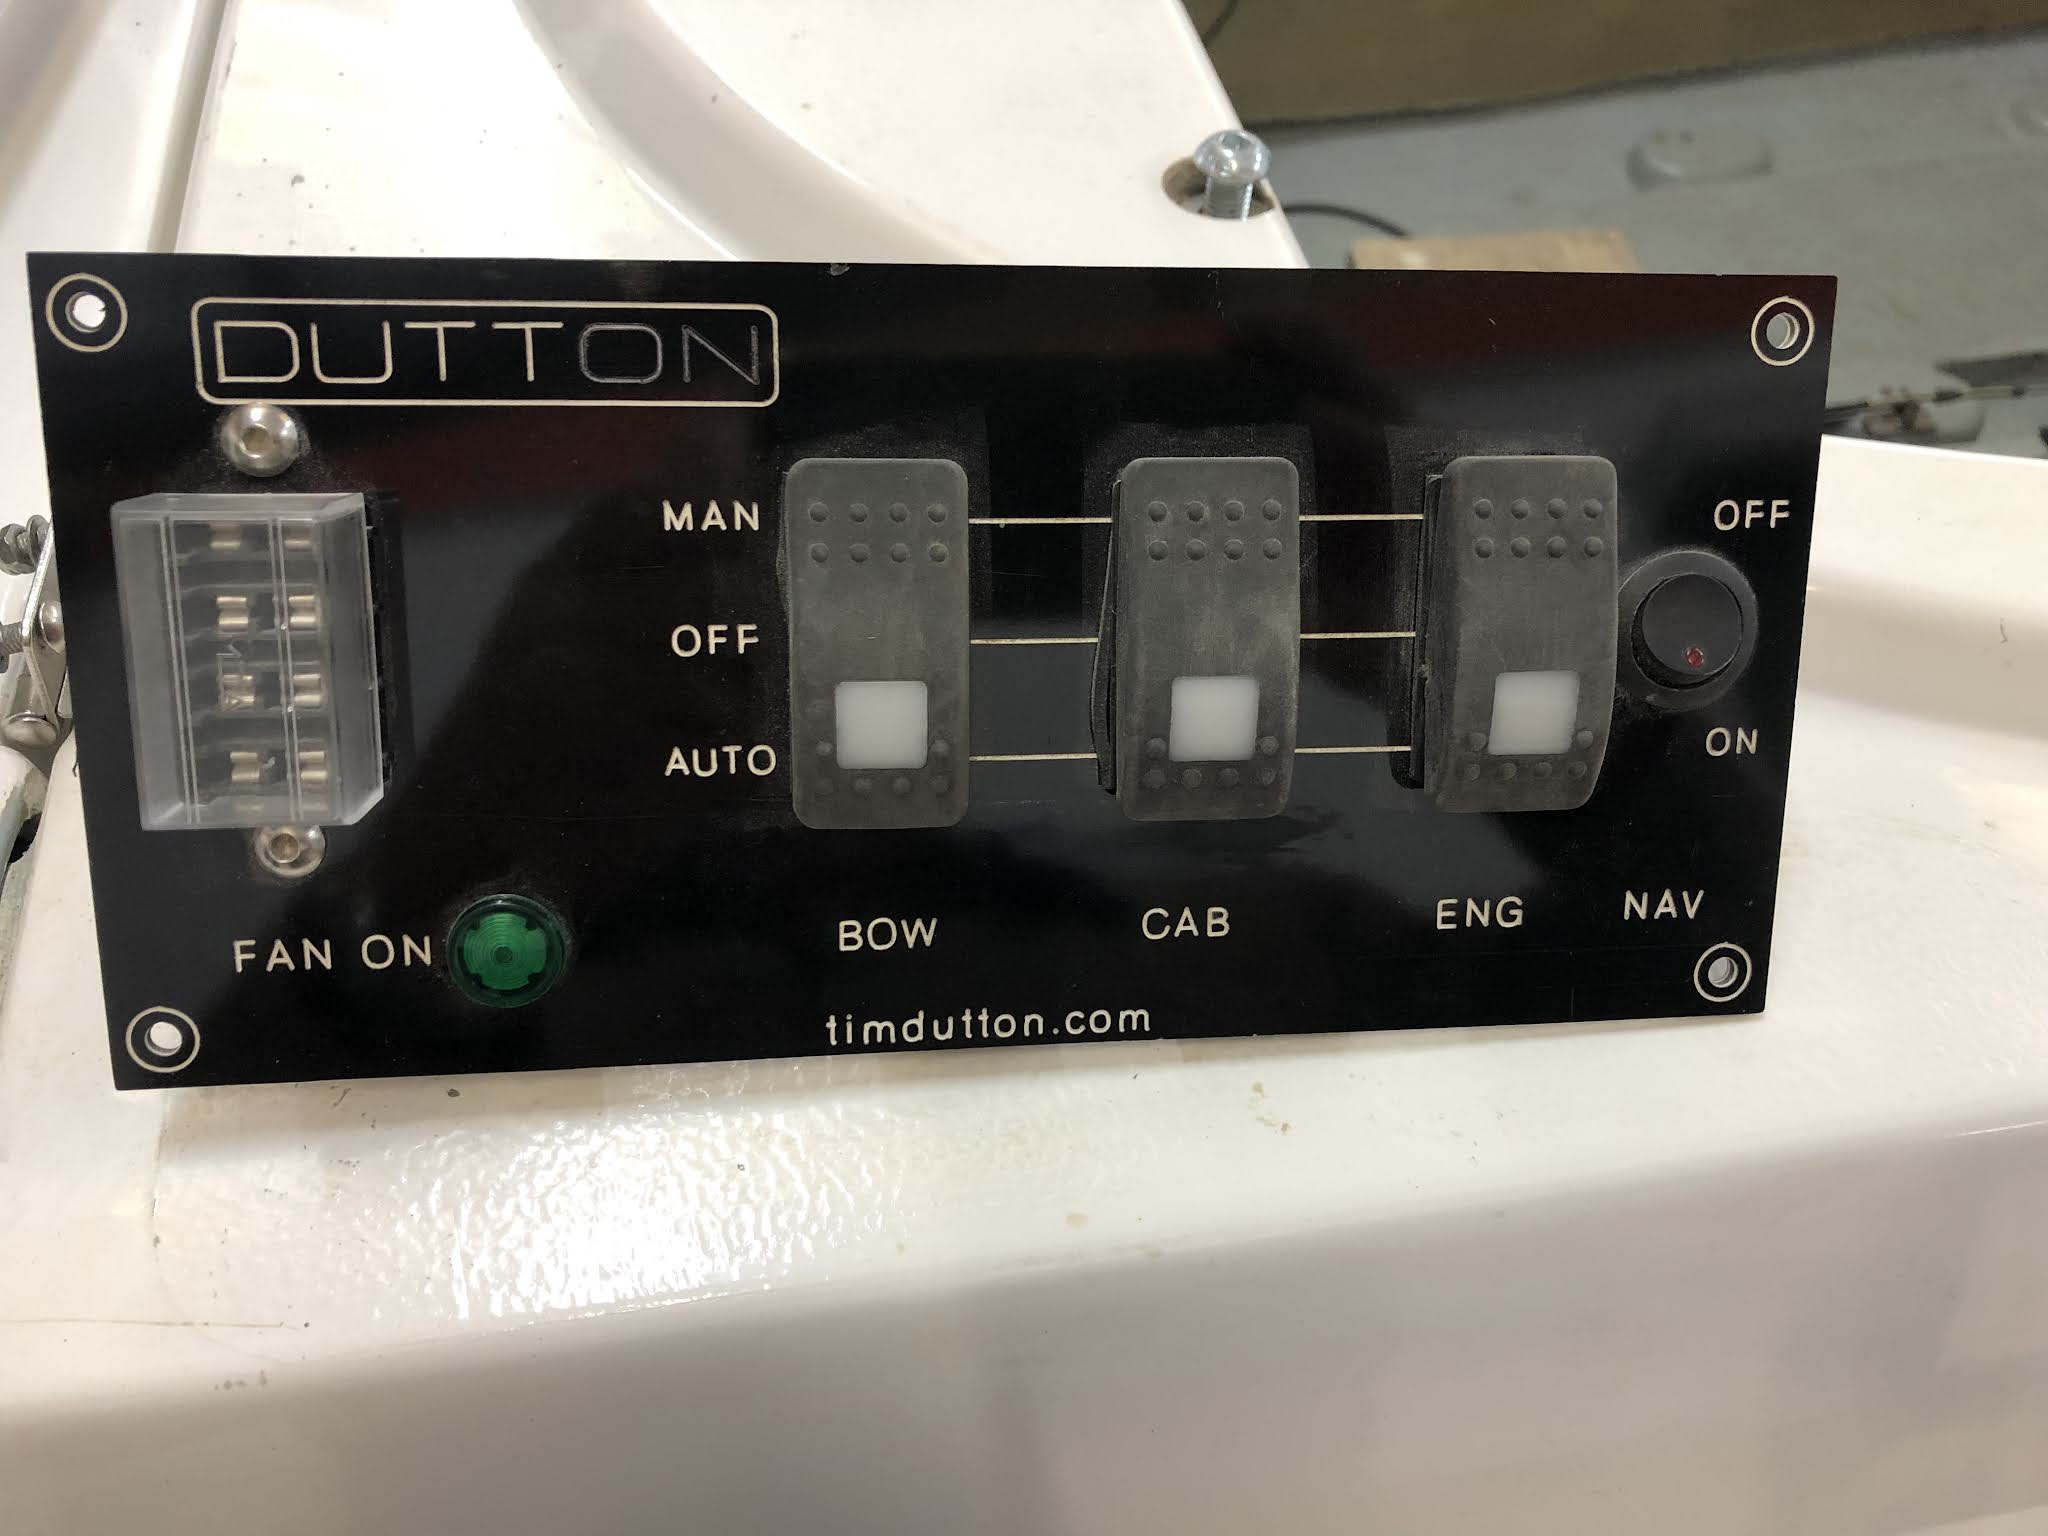
First on the list is wiring up the bilge pumps and the fan control. The kit comes with a pre wired switch panel for the pumps. As well as the switches it has a small fuse box, a switch for the nav light and a 'fan on' indicator light.

Here it is in it's unmolested state!


The first job is to add a hole for the radiator fan switch. The avid reader will recall the radiator fan should come on with the ignition but I've added a switch so it can be turned off and also a relay operated by the original fan relay to override the switch.


Next job is to wire it all up!

And here it is done. For ease of fault finding all the control wires are yellow!!

The next little job is to fit the windscreen washer bottle. This uses the bottle from the Fiesta and is mounted in the bow compartment next to the fuel tank. It had a good overnight soak in bleach to clean it all up before fitting. Here it is.


The next job is to fit the interior rear view mirror. A problem here is that the windscreen is from a Mk6 Fiesta and the mirror came off a Mk7 Fiesta. The mounting lug on the screen is different. 

Here is the mirror and a mounting bracket that fits the windscreen. Next week will see the new bracket attached to the mirror. It will involve the angry grinder!!


Sunday, 15 August 2021

Week 35 - The Build

 Back again after another few weeks away on the boat! Quite slow getting back into it as I try to remember what I was doing and what I planned to do!

Something thats been on my mind for a while is the radiator fan mounting. At the time it seemed to obvious place for it was in front of the radiator as there didnt seem to be room behind it as it would be in the Fiesta. Engine cooling is something of a concern as the engine is almost totally enclosed within the hull. So the first job is to move the fan. The only way to do this is to first remove the radiator which means draining the cooling system. The only place to drain it is into the hull where a gallon of water disappeared under the engine. The fan housing neatly clips into the radiator and it all went back in fine.


Second job is to modify the dog clutch for the water jet drive. At present the clutch will only engage when the two parts are quite accurately lined up. This is no good as they generally wont be lined up. The plan is to chamfer the face of the cup to encourage smoother engagement.

Here is the unmolested cup.


and here it is after some chamfering..


It doesn't look that different in the photo and actually doesn't make that much difference to the clutch either! More grinding required!

Also been looking at the bilge pump wiring. Its a bit of a mess at the moment but is poart of next weeks jobs.


Week 57 - The Test

 Got all the paperwork off to register it as a car now to test it as a boat!! Here are a couple of videos and some photos of it in action......